 myabundanceira Useful Updates
In this guide, we will walk you through the process of capturing clips on your PC, providing step-by-step instructions and valuable tips to help you master the art of clip recording. Whether you’re an aspiring content creator, a gamer looking to showcase your gameplay, or someone who needs to capture important moments on their screen, this comprehensive tutorial has got you covered.
Understanding the Importance of Clip Capture
Capturing clips on your PC has become increasingly popular in the digital age. From creating engaging social media content to recording gameplay for streaming platforms, the demand for high-quality clips is on the rise. With the right techniques, you can capture visually appealing and professional-looking clips that will leave your audience impressed.
Choosing the Right Screen Recording Software
Before you start capturing clips, you’ll need to choose the right screen recording software. There are numerous options available, but for the purpose of this guide, we highly recommend using OBS Studio (Open Broadcaster Software). OBS Studio is a sophisticated, free, and open-source software with numerous capabilities, making it ideal for capturing clips on PC.
Installing OBS Studio
To install OBS Studio, follow these simple steps:
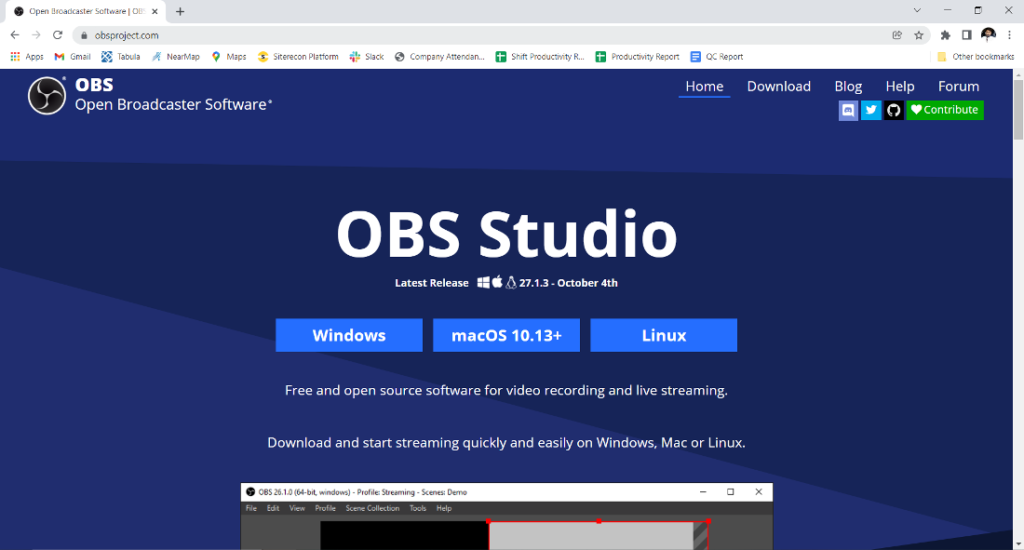
- Visit the official OBS Studio website at https://obsproject.com/.
- Navigate to the “Download” section.
- Choose the correct version for your operating system (Windows, macOS, or Linux).
- Run the installer and follow the on-screen instructions to complete the installation.
Configuring OBS Studio for Clip Capture
Once OBS Studio is installed, you need to configure it properly to ensure optimal clip recording. Follow these steps to set up OBS Studio:
Step 1: Creating a Scene
- Launch OBS Studio.
- In the “Scenes” box, click the “+” button to create a new scene.
- Name your scene according to the content you’ll be capturing (e.g., “Gameplay Recording” or “Tutorial Capture”).
Step 2: Adding Sources
- Click the “+” button in the “Sources” box.
- Choose the appropriate source type based on what you want to capture:
- Display Capture: Captures your entire screen.
- Window Capture: Captures a specific application or window.
- Game Capture: Captures fullscreen or specific games.
- Video Capture Device: Captures footage from a connected camera.
- Follow the on-screen instructions to configure the selected source.
Step 3: Adjusting Settings
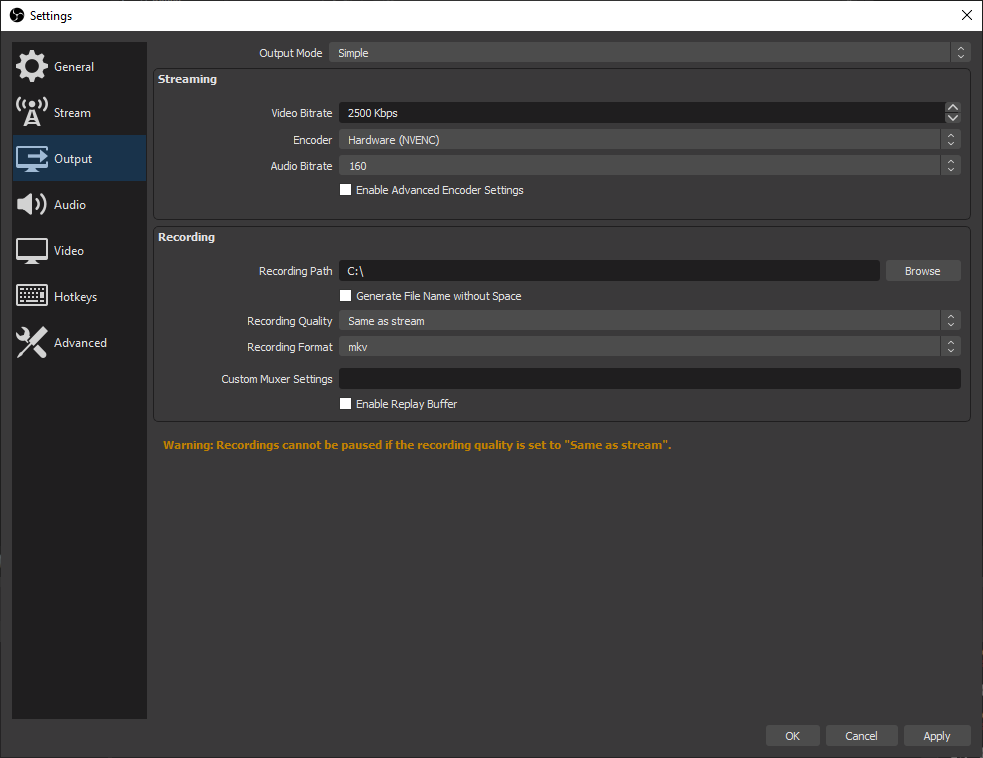
- Click on “Settings” in the lower-right corner of OBS Studio.
- Go to the “Output” tab and set your desired video settings, such as resolution and frame rate.
- In the “Video” tab, set the base and output resolutions to match your monitor’s native resolution.
Recording Your Clips
With OBS Studio set up, you’re now ready to start capturing your clips. Follow these steps to begin recording:
- Go back to the main OBS Studio window.
- Ensure that your desired scene and sources are visible in the preview.
- Click the “Start Recording” button in the “Controls” section.
- Perform the actions you want to capture within your selected sources.
- When you’ve finished recording, click the “Stop Recording” button in the “Controls” section.
Advanced Tips for High-Quality Clips
To ensure that your captured clips stand out and impress your audience, consider implementing the following advanced tips:
- Audio Quality: Use an external microphone to capture clear and crisp audio alongside your clips.
- Hotkeys: Set up hotkeys in OBS Studio to start and stop recording quickly, ensuring you never miss essential moments.
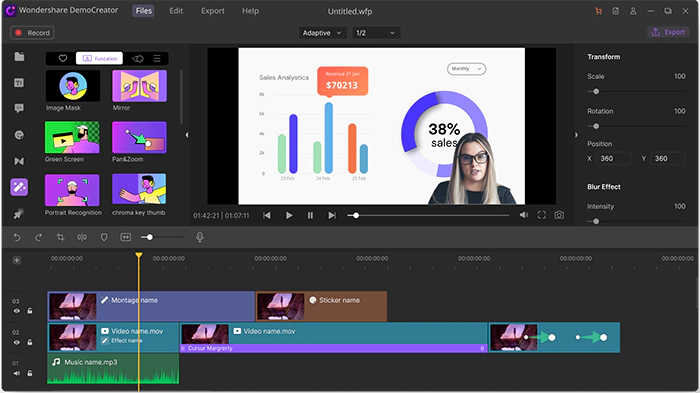
- Edit and Enhance: After capturing your clips, use video editing software to enhance the footage further and add engaging effects.
- Thumbnail Design: Create eye-catching thumbnails for your clips to increase click-through rates when sharing them online.
Conclusion
Congratulations! You now possess the knowledge and tools necessary to capture clips on your PC like a pro. Remember that practice makes perfect, so don’t be discouraged if your first attempts are not flawless. Experiment with different settings, explore various recording scenarios, and, most importantly, have fun while creating your stunning clips.
With the comprehensive guide and powerful OBS Studio, you can now confidently create captivating clips that will undoubtedly outrank the competition and leave a lasting impression on your audience.
Diagram suggestion:
graph LR
A[Choose Right Screen Recording Software]
B[Install OBS Studio]
C[Configure OBS Studio]
D[Create Scene]
E[Add Sources]
F[Adjust Settings]
G[Start Recording Clips]
H[Advanced Tips for Quality Clips]
A --> B
B --> C
C --> D
C --> E
C --> F
D --> G
G --> H